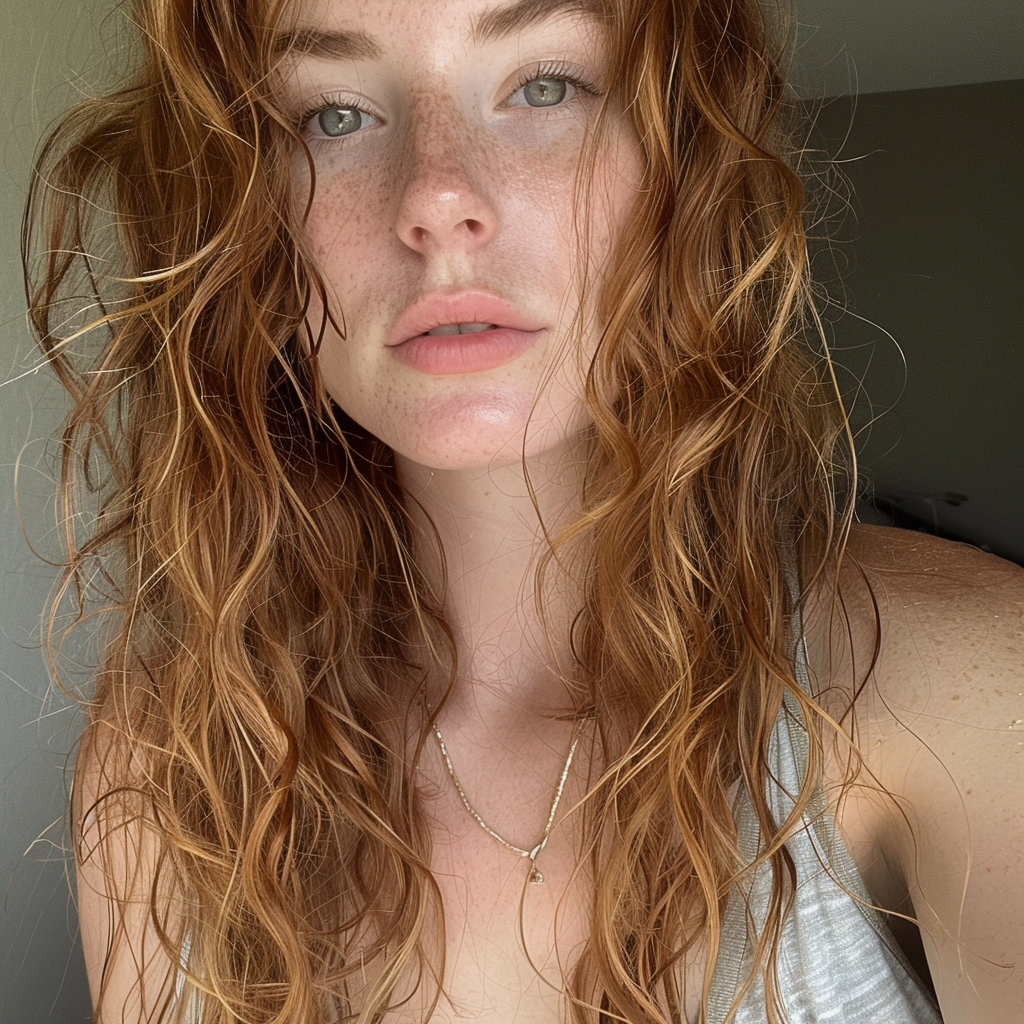
I wash my hair on Saturday and today is Wednesday, and I’ve worked out twice since then. Is that gross? Maybe, but whatever, let’s just go with it.
Today, I’m writing about some really easy ideas on how you can wear your hair when you haven’t washed it in several days. Let’s go.

Let’s start with some hair prep because my hair is frizzy in the mid, shafts, and ends, but super greasy on the roots. I need to make it a bit more manageable to do any of these styles.
If you want to skip the hair prep step, move ahead to this timestamp. For those of you who care hello, the first thing I’m going to do is start some dry shampoo.
I get asked a lot about which dry shampoo I like the most, and to be honest, I don’t have much of a preference because I find that they are all the same.
The one that I’m using today is Makeover Spray by KMS, but I often also use the super inexpensive, Betis ones from the drugstore.
I like to start by spraying this right on the roots in multiple sections, giving yourself a little distance so it doesn’t make your hair too chalky.
I let it sit for a few minutes to absorb the oil and then I brush it all the way through. I just bought a new brush and I like it.
It’s a wet brush, so it’s great for detangling, but it also has natural bore bristles, which is great for smoothing hair, especially hair that has more texture like mine.

The next thing I do is just wet the mids, halves, and ends of my hair a little bit, so it becomes more obedient. And then I use my hot airbrush to blow it out and smooth the hair.
The hot airbrush is a tool that I can’t live without. It’s the number one thing I reach for when I’m doing pretty much any look. The Revlon one is good.
Now I take that dry shampoo again and I spray it through the mid shafts and ends to give me more texture and oomph in my dirty hair. The first look I love to wear is a ponytail.
I love ponytails, but how boring would it be if I talked to you about how to do a regular old ponytail? So I’m going to show you two different tools that you can use for a fluffier-looking ponytail.
Pony-O

This first tool is called a Pony-O. It’s a silicone ring that you use two fingers to pull your hair through. You flatten it, you spread your hair across it, and then you fold both ends down.
There is a little bit of a learning curve with this, but once you figure it out, it is awesome. They also have something called bling rings that are magnetic that you can wear on top to dazzle it up.
Because I have some thinning on the sides, I fill those in with a product called Me Cosmetics.
This is a scalp foundation, and I use the darkest available shade. If you want to try this technique without the investment, just use a matte shadow and a densely packed brush.
Ponyful by Kitch
Another ponytail tool is the Ponyful by Kitch. I have mixed feelings about this, but I’ll show you how to use it anyway.
So what you do is you put your hair in a regular ponytail but do not wrap the elastic too many times around the base of the ponytail.
Leave that elastic a tiny bit looser than you normally would. Then you take this little stopper thing and you insert it into the elastic.
The hair sits over it and puffs up. For this tutorial, I initially used the clear that it comes with, but I redid it with a black elastic because I found that the clear elastic was just giving me way too many bumps in the front of my head, and it also wasn’t holding my hair very well.

This next look is very popular in the celebrity world right now, and it couldn’t be easier. It’s a very slick midhead bun.
So what I like to do here is add a bit of styling cream to get rid of all the flyaways. This one is by HairStory, and it’s my favorite. It looks and feels a lot like facial moisturizer, but it’s for your hair.
It’s great for very slick looks or for textured hair that needs control. Then I simply put my hair in a mid-head, ponytail.
So what I do is I split my ponytail in half and I twist both sides in the same direction. Then when I have that, I twist the twist together, but in the opposite direction.
And then I secure it with a tiny, stretchy elastic.
I pinch out a bit of texture and I secure it with bobby pins. If your hair is longer than mine, this really will look way better, but it still works on my shorter hair lengths, so I’m just going to go with it.
You can finish this off with some Hairspray to tame any little fly-aways. Sebastian Shaper and Shaper+ are my ride-or-die hairsprays. It’s the only Hairspray I use on myself and everyone. I haven’t been able to find another one that I like more than this.
This next look is a little bit extra, but I still love it. It’s summer, it’s festival season, and I think this looks cute with a swimsuit on the beach.
What I did here is I took two scarves that I bought on Amazon and I tied them together and then I twisted them. I tied a bow at the front of my head and tucked in the ends by twisting.
I know this look isn’t for everyone, but I don’t know, I just think it’s adorable.
So for this wrap, we are going to start by tying the scarf together the same way that we did before. But what I do now is twist both sections in one direction, and then I twist the sections together in the opposite direction.
Again, this is a rope braid. So just like I rope braided my hair earlier, I am rope braiding the scarf.
Then I just twist the twists in on itself into a little bun, and I tuck in the ends. This is a toned-down version of the previous look and is a great option if you just want to jazz up your summer look, but aren’t quite as extra as me.
All I do here is part my hair in the middle and put it into a nice, low, very slick ponytail. I love accessorizing one side of this and the sky is the limit here.

You can pick up accessories from Kitch from Icing or even Ardenes and add a little cluster to one side of the part. Some people love leaving some face-framing on the front of this pony, but I find that when the hair is dirty, it just doesn’t look great and you can see that here.
So I always choose to tuck it back. If your hair is not as dirty as mine, you could leave some face-framing layers to soften the front.
And here is my final look. It’s so simple, but honestly, I feel my prettiest when my hair is in this look, and I don’t even know why. I just love how simple it is and how chic and clean it is.
This next look is an awesome hack. This is probably the coolest of all of these looks, so you’re going to love it.
So start by splitting your hair in half and putting it into two high ponytails, but don’t pull it through all the way so that you end up with two floppy, ridiculous-looking buns on the top of your head.
Now, all you have to do is loop one through the other one and then take a few pins and pin it in place. When you are pinning buns, don’t open the bobby pins, just stick them in close.
Trust me, it will hold the hair but not collapse the shape when you do it this way. This is one mistake that I see a lot of people making.


